Common Issues with Window Tint Removal
Removing window tint can be a daunting task, especially if you are not familiar with the process. Whether it's for your car or your home, window film removal can present several challenges. In this article, we will explore some common issues with window tint removal and provide tips on how to overcome them. Understanding the complexities involved can save you time and frustration, ensuring you achieve a clean and professional finish. By preparing adequately and using the right techniques, you can avoid damage to your windows and complete the task efficiently.
Understanding Window Film
Before diving into the removal process, it's essential to understand what window film is. Typically, window tint is a thin laminate film that can be applied to the interior or exterior of glass surfaces. It's used to reduce heat, glare, and UV radiation and can also enhance privacy. However, over time, you may need to remove it due to damage, discoloration, or simply because you want a change. Understanding the composition of the film and the type of adhesive used can help you choose the best removal method.
Window films vary in quality and material, with some being easier to remove than others. High-quality films often use better adhesives that might simplify the removal process, whereas cheaper options could deteriorate and complicate removal. Moreover, films can have additional layers, such as protective coatings, that affect how they should be handled. Recognizing these differences will help you tailor your approach and avoid unnecessary complications during removal.
Common Issues During Window Tint Removal
Adhesive Residue
One of the most prevalent issues with window tint removal is the adhesive residue left behind. The adhesive can be stubborn and difficult to remove, particularly if the film has been in place for a long time. This residue can create a sticky mess that attracts dust and dirt, making the glass appear unsightly. It may also interfere with any new tint application if not removed completely, affecting the adhesion and overall finish.
The key to dealing with adhesive residue is persistence and the right approach. Different adhesives respond to various removal agents, so it may require some trial and error to find what works best. In some cases, repeated applications of an adhesive remover might be necessary to completely eliminate the residue. Additionally, ensuring the glass is warm during this process can help soften the adhesive, making it easier to wipe away.
Solution
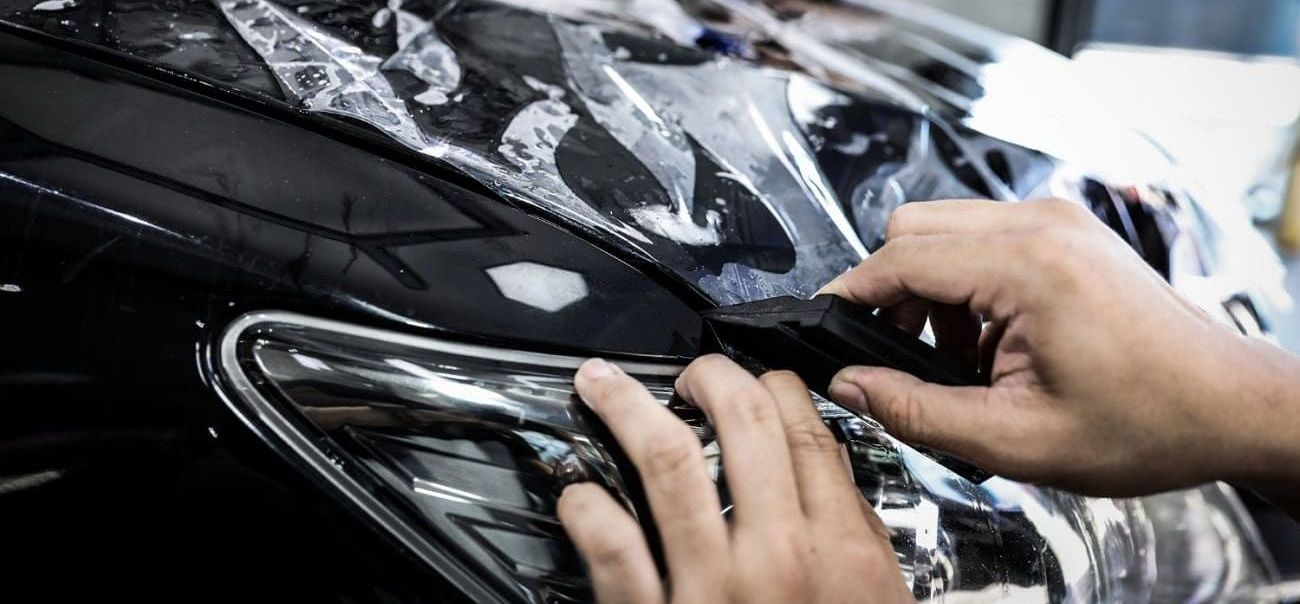
Using a high-quality adhesive remover can make this task much easier. You can also try a mixture of soap and water, or even vinegar, to help break down the adhesive. A razor blade or scraper can be useful, but be careful not to scratch the glass. Always test a small, inconspicuous area first to ensure that your chosen method won't damage the glass surface or leave scratches.
Consider using a plastic scraper as an alternative to metal blades, which can be gentler on glass. Soaking the adhesive in a solution for a few minutes before scraping can help reduce the effort required. Patience is crucial, as rushing the process can lead to scratches or incomplete adhesive removal. Additionally, maintaining a clean working surface by frequently wiping away loosened adhesive will help achieve a clearer finish.
Film Tearing
Another challenge is the film tearing during removal. This can happen if the tint is old or was not applied correctly in the first place. Tearing makes the removal process longer and more frustrating. Small tears can result in multiple pieces needing removal, increasing the risk of leaving adhesive behind and potentially causing scratches on the glass.
Film tearing is more likely when the film has become brittle over time due to prolonged exposure to sunlight or heat. To minimize tearing, it's important to handle the film gently and apply even pressure during removal. A strategic approach, such as removing the film in sections rather than all at once, can also help manage larger pieces more effectively.
Solution
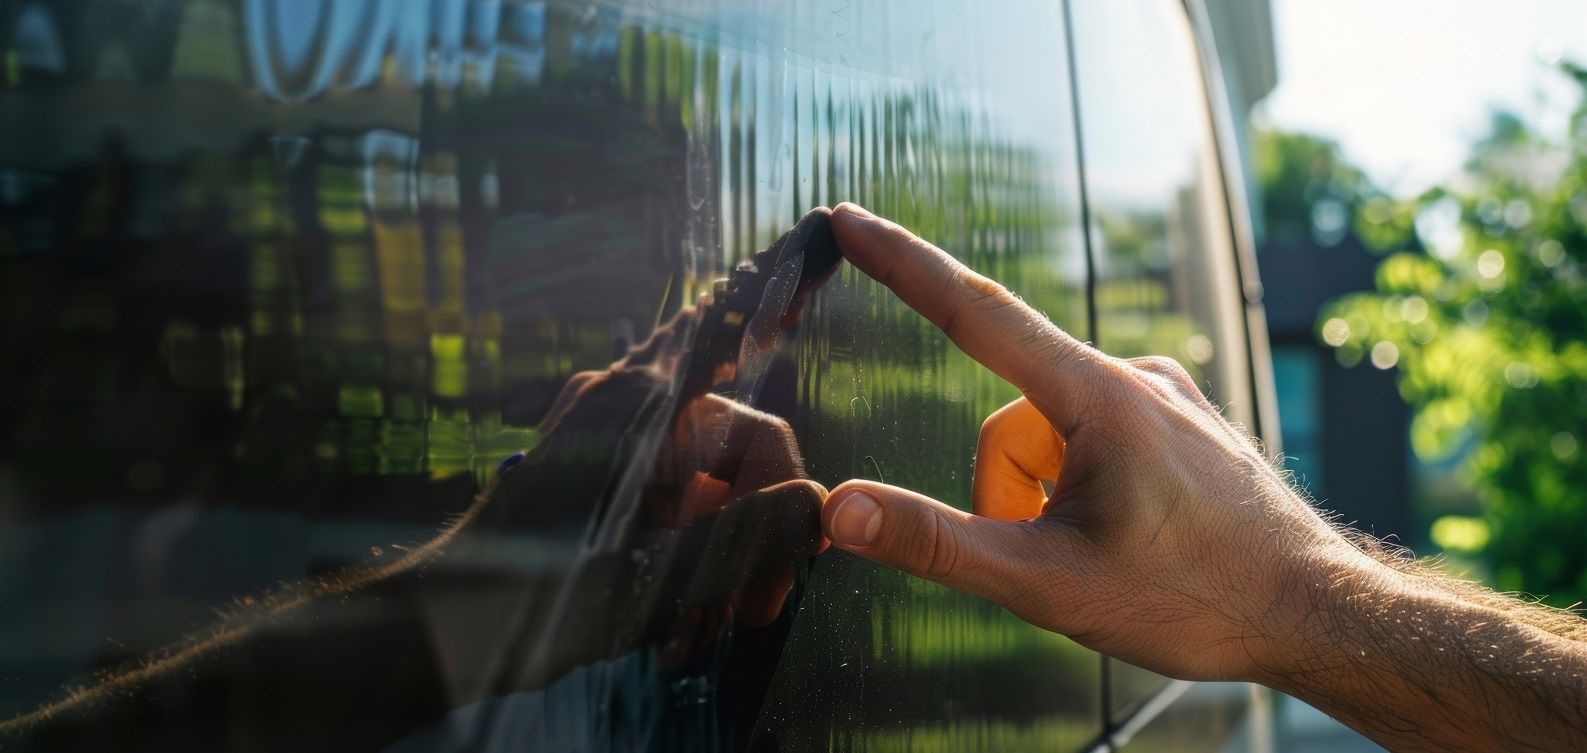
To avoid tearing, try to keep the film intact by gently heating it with a hairdryer or heat gun. The heat will soften the adhesive, allowing the film to peel off more smoothly. Always start from a corner and slowly work your way across the window. Ensure that the heat is applied evenly to prevent uneven adhesive softening and potential tearing.
If a tear does occur, don't panic. Instead, focus on carefully lifting the edges of the tear with a tool, such as a plastic card, to prevent it from spreading. Gradually work around the tear, applying heat as needed, to continue removing the film. By staying calm and methodical, you can minimize the impact of any tears and keep the process moving forward.
Discoloration and Staining
Over time, window tint can become discolored or stained, which might complicate the removal process. This issue is often seen with cheaper films or those exposed to harsh sunlight for extended periods. Discoloration can make it difficult to see where the film ends and the adhesive begins, complicating the removal process and increasing the risk of leaving residue behind.
Staining can occur due to environmental factors such as pollution, bird droppings, or hard water deposits. These stains may require additional cleaning efforts both before and after film removal to restore the glass to its original clarity. In some cases, stains may have become etched into the glass, necessitating professional cleaning or even replacement.
Solution
In cases of discoloration, it's essential to use patience and the right tools. Begin by using a soft cloth and a mild cleaning solution to wipe away any surface dirt. Then, proceed with the removal process as usual. If stains remain, consider using a glass-specific cleaning solution post-removal.
For stubborn stains, a vinegar and water solution can be effective. Allow the solution to sit on the stain for a few minutes before wiping it away. If this doesn't work, a commercial glass cleaner designed for tough stains may be necessary. Always follow the manufacturer's instructions and test in an inconspicuous area first to avoid potential damage to the glass.
Tools Required for Removing Window Film
Having the right tools can make the removal process much easier. Here are some essentials you will need:
- Heat Gun or Hairdryer: To loosen the adhesive. A heat gun provides more consistent heat but requires caution to avoid overheating the glass.
- Razor Blade or Scraper: For carefully scraping off the film and adhesive. A plastic scraper can be a safer alternative to prevent scratches on the glass surface.
- Spray Bottle: Filled with soapy water or adhesive remover. This helps in keeping the glass surface wet, reducing friction and making scraping easier.
- Soft Cloth or Sponge: For cleaning the glass surface after removal. Microfiber cloths are particularly effective at capturing dust and residue without scratching.
- Adhesive Remover: To deal with any stubborn residue. Choose a product that is safe for glass and won't leave additional marks or stains.
Having these tools ready before beginning the removal process can streamline the operation. Ensuring that each tool is in good condition and appropriate for the task will help avoid unexpected delays or damage.

Step-by-Step Guide to Remove Window Tint
Step 1: Prepare the Area
Start by preparing the area around the window. Make sure to cover any surfaces that could be damaged by adhesive remover or stray pieces of film. This might include seats, floors, or any nearby furniture. Using painter's tape and plastic sheeting can help protect surfaces and contain any debris.
Proper preparation also involves ensuring you have enough working space and good lighting to see the film and adhesive clearly. This will help you work more efficiently and reduce the risk of missing spots or causing damage.
Step 2: Heat the Film
Use a heat gun or hairdryer on a low setting to warm the film. This will soften the adhesive underneath, making it easier to peel off. Move the heat source in a sweeping motion to ensure even heating and prevent overheating any one spot.
Consistent heating is key, as uneven temperatures can cause the film to warp or the adhesive to become patchy. Adjust the heat setting as needed to ensure the film is warm but not hot, which could crack the glass.
Step 3: Peel the Film
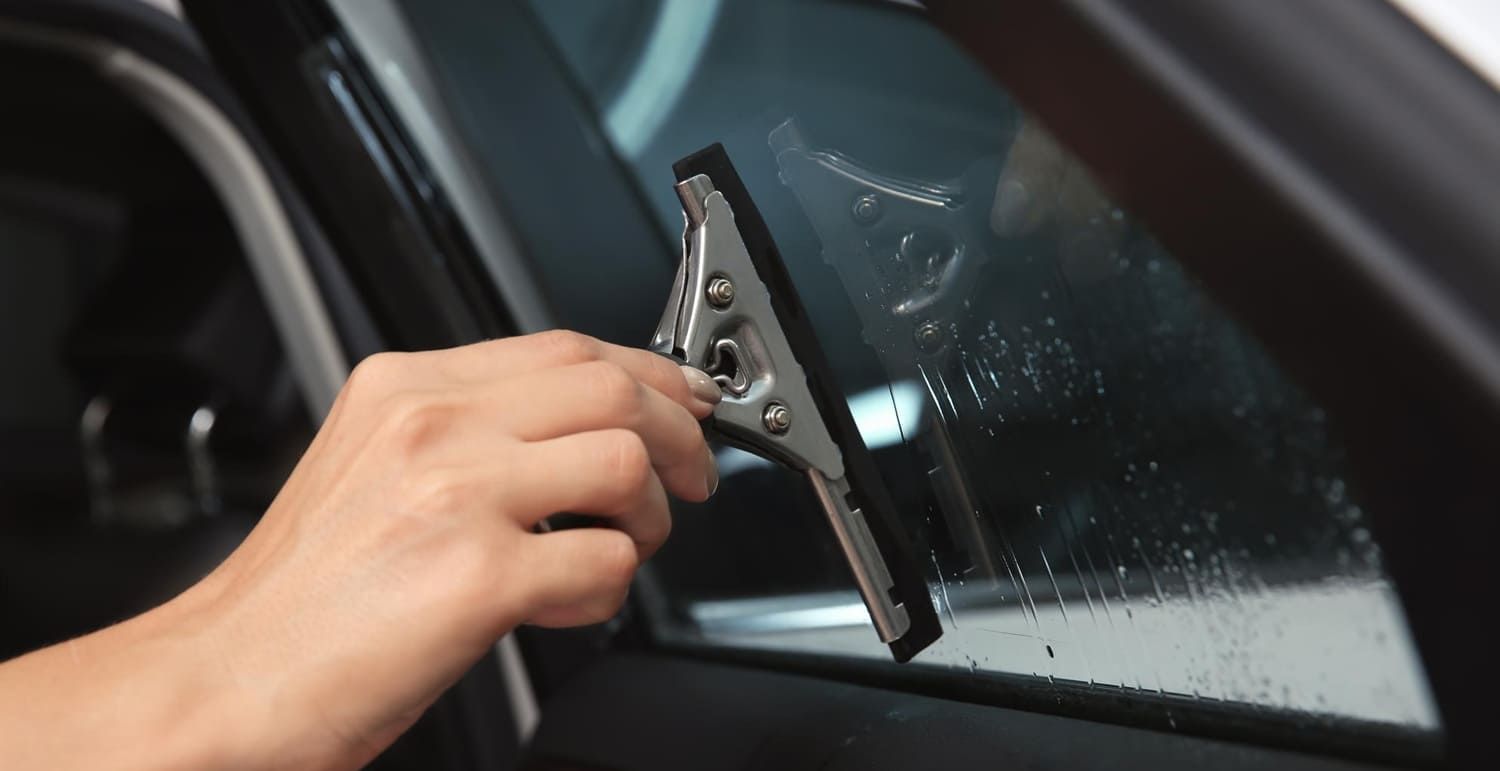
Begin at one corner of the window. Use your fingers or a razor blade to lift the edge, and slowly peel the film away from the glass. Apply consistent heat as you go to prevent tearing. Work slowly to avoid breaking the film, which can lead to a more complicated removal process.
If the film is resisting, pause and reapply heat before continuing. This will help prevent tearing and make the process smoother. Remember to keep the film taut as you peel to minimize the risk of it snapping back and tearing.
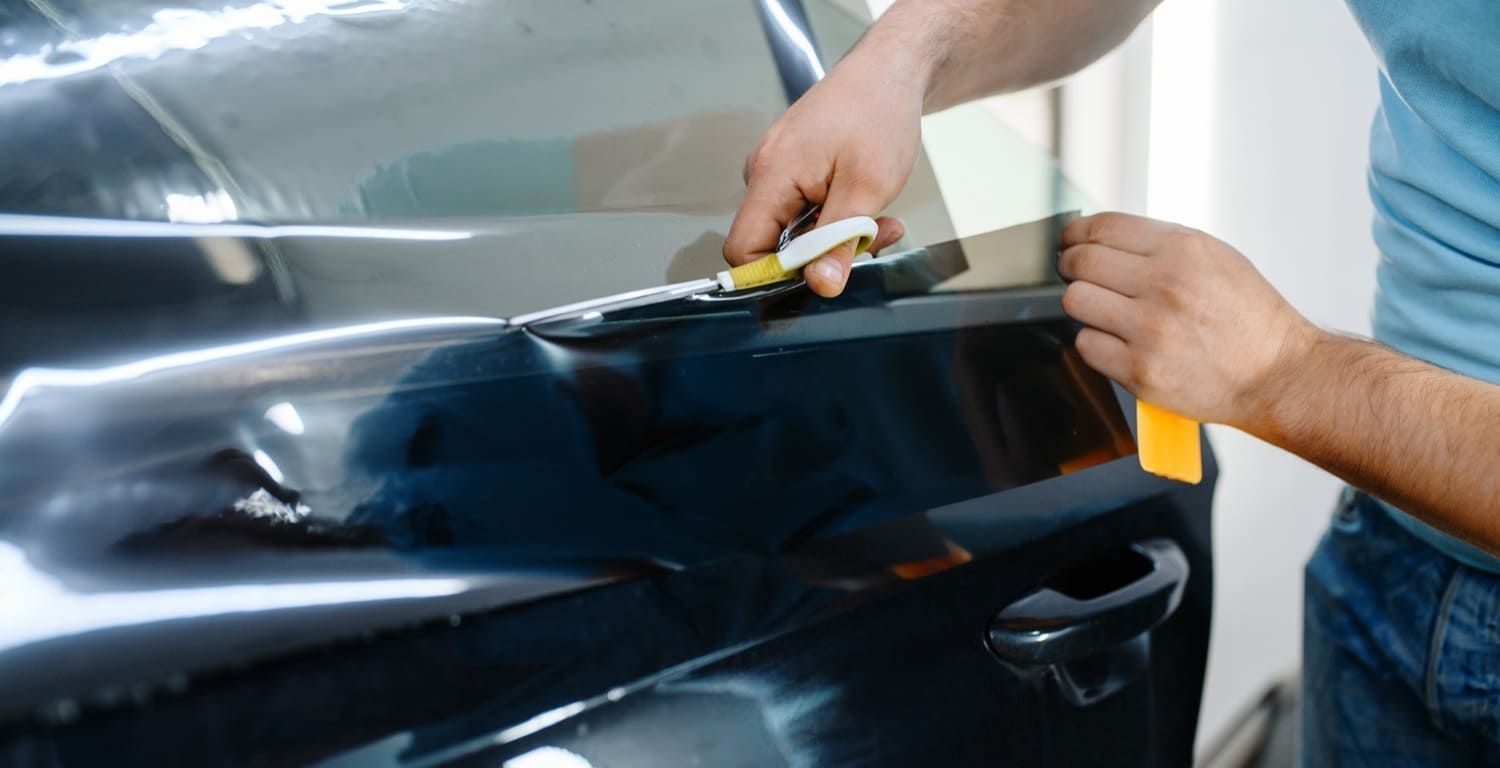
Step 4: Remove Residual Adhesive
Once the film is off, you will likely have some adhesive left on the glass. Spray your adhesive remover or soapy water onto the residue and let it sit for a few minutes. Then, use a scraper or cloth to gently remove the adhesive. Be patient and reapply the solution if necessary to ensure all residue is removed.
Ensure you frequently clean the scraper or cloth to avoid spreading adhesive across the glass. Rinse or replace tools as needed to maintain effectiveness and prevent residue buildup.
Step 5: Clean the Glass
After all the adhesive is gone, clean the window thoroughly with a glass cleaner to ensure it's free from any remaining residue or streaks. Use a microfiber cloth to polish the glass and achieve a streak-free finish. Pay extra attention to corners and edges where adhesive might linger.
Inspect the glass from different angles to ensure all residue is removed. If any spots remain, repeat the cleaning process until the glass is completely clear. A final rinse with clean water can help remove any cleaner residue, leaving the glass sparkling.
Precautions When Removing Window Film
- Avoid Scratching: Be cautious when using sharp tools near glass surfaces. A scratched window can be costly to repair or replace. Using plastic tools and applying minimal pressure can help prevent accidental damage.
- Ventilation: If using chemical adhesive removers, ensure the area is well-ventilated to avoid inhaling fumes. Open windows and doors or use fans to circulate fresh air.
- Protective Gear: Consider wearing gloves and eye protection, especially when working with chemicals or sharp tools. Gloves can also provide a better grip, reducing the risk of slipping and scratching the glass.
Taking these precautions seriously can prevent accidents and ensure a safe working environment. Proper safety measures not only protect you but also enhance your ability to perform the task efficiently.
When to Seek Professional Help
While many people successfully remove window tint themselves, there are situations where it's better to call in professionals. If you're dealing with large windows, double-glazed windows, or if the tint has been applied in multiple layers, a professional's expertise might be worth the investment. They have the experience and equipment to handle complex situations without damaging the glass.
Professional services can also save you time and effort, particularly if you're unsure about your ability to complete the task. Additionally, if your window film is particularly old or damaged, professionals can offer solutions for restoration or replacement that you might not consider.
Conclusion
Window tint removal doesn't have to be a nightmare if you understand the common issues and how to handle them. At Velocity Window Tinting in Sanford, FL, we specialize in professional window tint removal using the right tools and techniques to efficiently remove window film and restore your glass surfaces to their original clarity. Whether you're doing it yourself or hiring our expert team, being informed will ensure a smoother process.
By addressing these common issues with window tint removal, Velocity Window Tinting helps you tackle the task with confidence and achieve great results. Happy tint removing! Ensuring that you approach the task methodically and with the right knowledge from our trusted installers will help you avoid pitfalls and enjoy clear, clean windows once again.
Contact us today for a free estimate and let Velocity Window Tinting assist you in achieving flawless window tint removal with our professional services.